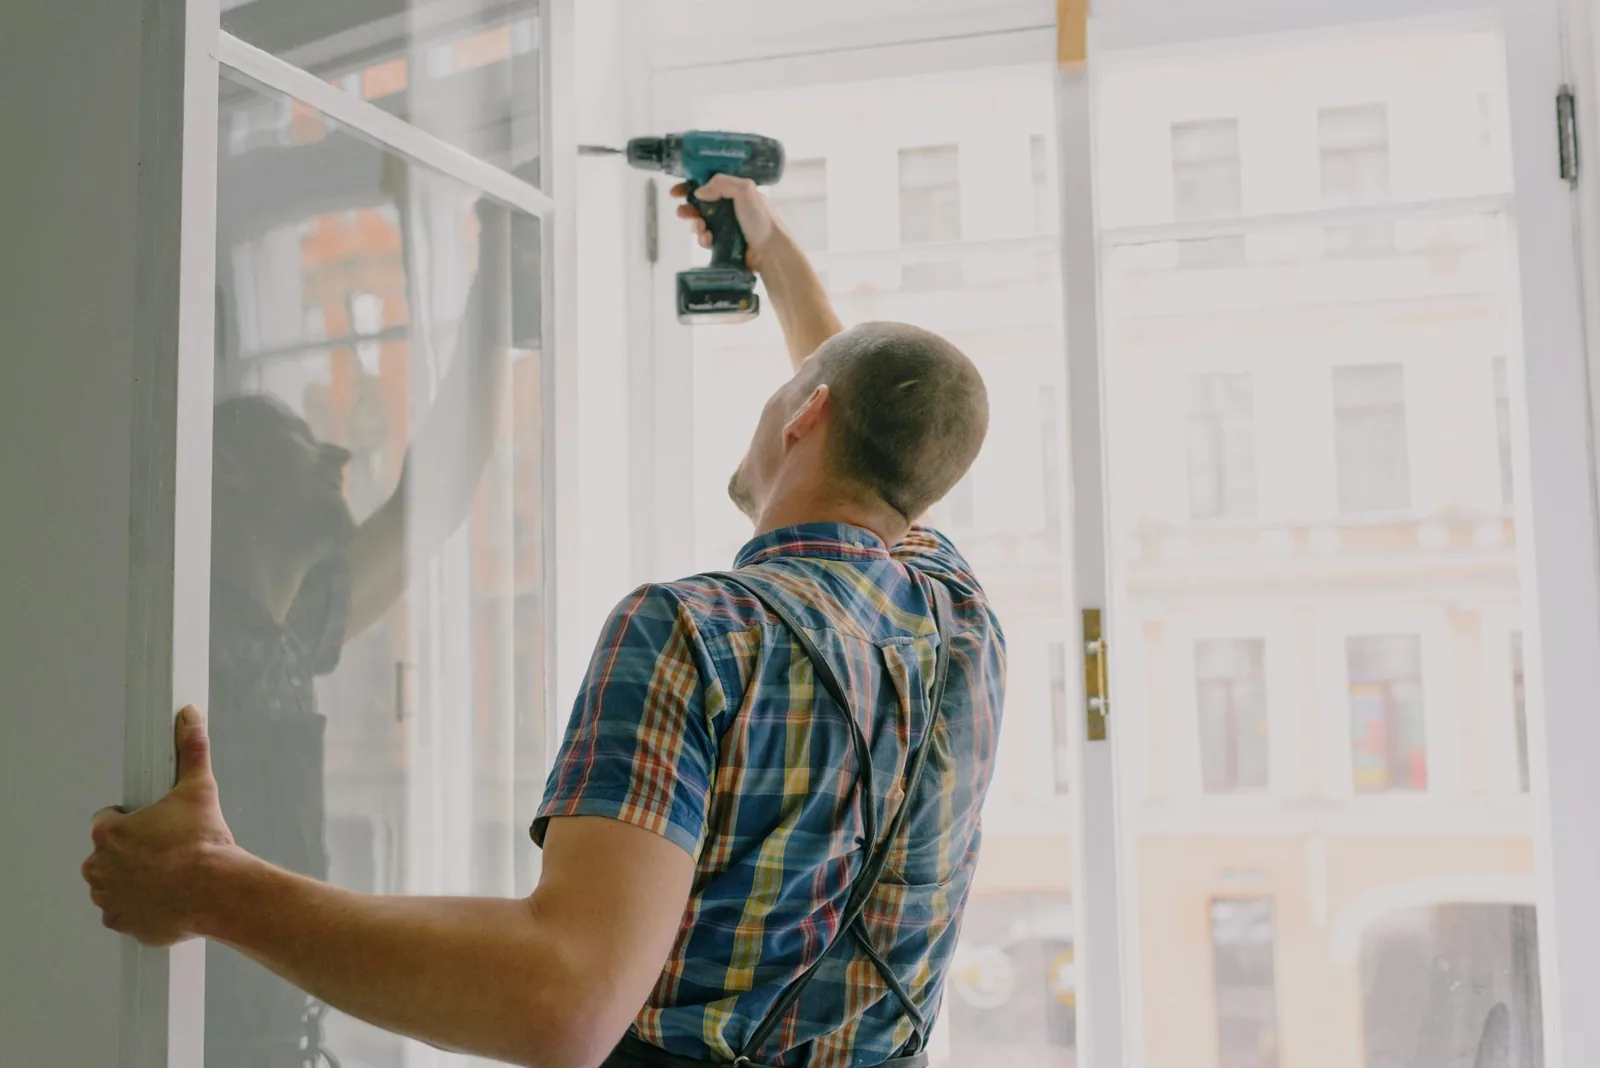
How to Install a Replacement Window: A Step-by-Step DIY Guide
If you are tired of drafts, fogged glass, and windows that stick either open or shut, learning how to install a replacement window can solve all three problems in a single afternoon. A new window makes your home tighter, quieter, and more comfortable, and a careful DIY install typically saves $150 to $350 per opening compared with hiring out the labor. You do not need a full framing crew or exotic tools; you need a level, a hammer or drill, some shims, low-expansion foam, and a dry, mild day.
This guide covers the whole job end to end: how to order the right-size unit, how to prep the opening, and how to set, insulate, and trim the window so it operates smoothly and never leaks. Even if you end up calling a pro, knowing the correct steps will help you review quotes and spot sloppy work before it is caulked shut.
Before You Start: Tools, Safety, and Materials
Gathering everything up front keeps you from leaving the hole in your wall open longer than necessary. You will need:
- A tape measure that locks, a 2-foot and a 4-foot level, and a carpenter’s square.
- A flat pry bar, a utility knife, a hammer, and a cordless drill/driver.
- A reciprocating saw or handsaw for stubborn nails or shims.
- Wood shims, a low-expansion window-and-door spray foam, and a quality exterior-grade caulk.
- Fiberglass or backer-rod insulation, stainless or exterior screws, and a drop cloth.
Safety matters more than speed here. Wear safety glasses and work gloves throughout — old glass, sharp metal flashing, and spring-loaded balances can all cut you. If the opening you are working in is above the first floor, use a sturdy ladder or scaffold, and have a helper steady the unit while you fasten it. Remove the interior sash or tilt-in panels first; most modern windows are safer and lighter to handle once the sashes are out of the frame.
Step 1: Measure Correctly (Twice)
A replacement window is only as good as the numbers on your order form. Most “pocket” or replacement units fit inside the existing frame, so you measure the inside of the old jamb, not the rough opening.
Take measurements in three places — top, middle, and bottom for width, and left, middle, and right for height — and record the smallest of each. Subtract roughly 1/4 inch from width and height to leave room for shims and leveling. Measure depth as well, because a unit that is too deep will not sit flush with your interior trim. Many manufacturers such as Pella, Andersen, and JELD-WEN offer sizes in 1/8-inch increments, so those fractions matter.
If your numbers come out close to a standard size, confirm with a factory-made unit rather than forcing a mis-measured window into the gap. Ordering a custom size usually costs 15 to 30 percent more, which is far cheaper than a window that will not seal.
Step 2: Remove the Old Window Without Damaging the Frame
Start inside. Cut the caulk or paint seal around the interior stops with a utility knife, then pry the stops off carefully — these thin wood strips can often be reused. With the stops removed, the old sash should tilt or lift out. If the window has a jamb liner, score around its edges and pull it free.
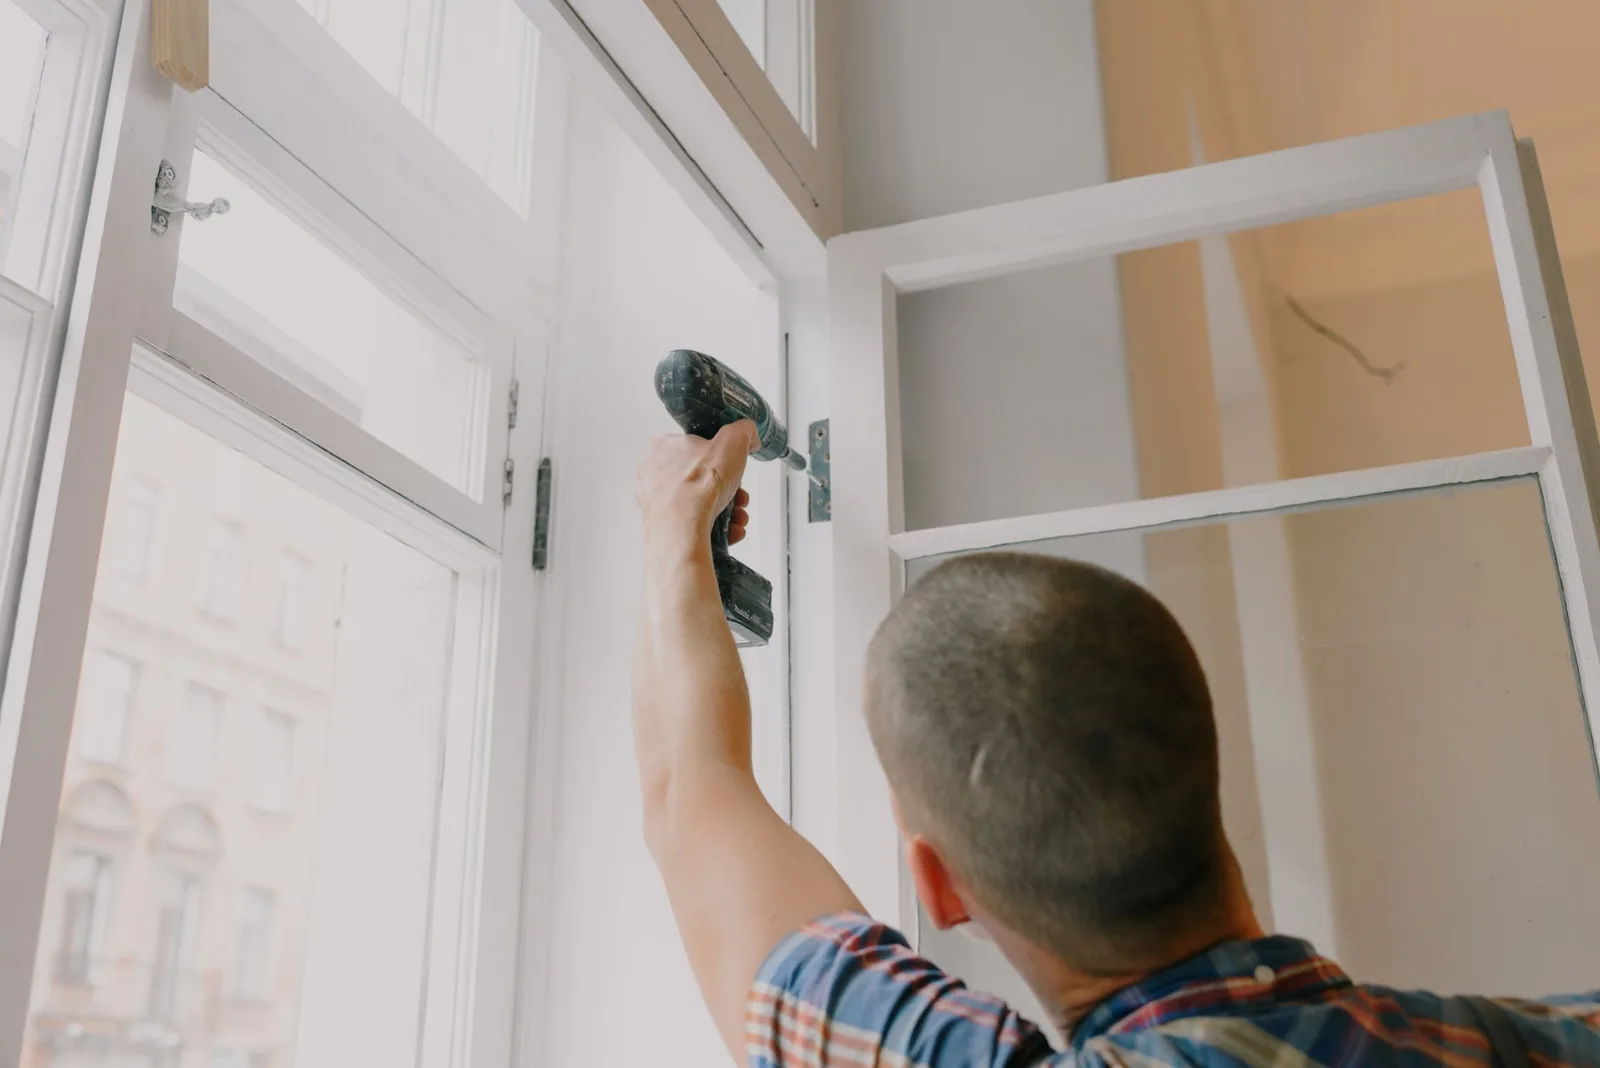
Photo by Ksenia Chernaya via Pexels
Work slowly and keep the exterior casing and surrounding siding intact whenever you can. If you have to cut through nails or old sash cords, use a reciprocating saw with a short metal-cutting blade. Vacuum out the opening and inspect the underlying frame for rot. Soft, darkened wood needs to be cut out and patched before the new unit goes in; do not bury rot behind a new window, because it will keep spreading.
Step 3: Prep the Opening and Dry-Fit the Unit
Before any fasteners go in, set the new window in the opening and check the fit. The frame should drop in with a small gap — roughly 1/8 to 1/4 inch — all the way around. If it is too tight, trim the rough opening slightly; if it is too loose, plan to shim more aggressively.
Run a bead of caulk or lay a sill flashing tape across the bottom of the opening to shed any water that finds its way in. A beveled sill pan or a few angled shims under the bottom will direct moisture outward rather than toward the interior. This is the single most common place DIY window installs go wrong, and the reason hiring help can be worthwhile for a second-story or rotten-framed job.
Dry-fit also tells you whether the jamb depth is right before you commit. Hold a straightedge across the opening; the window’s interior face should land roughly flush with the finished wall so the trim sits tight.
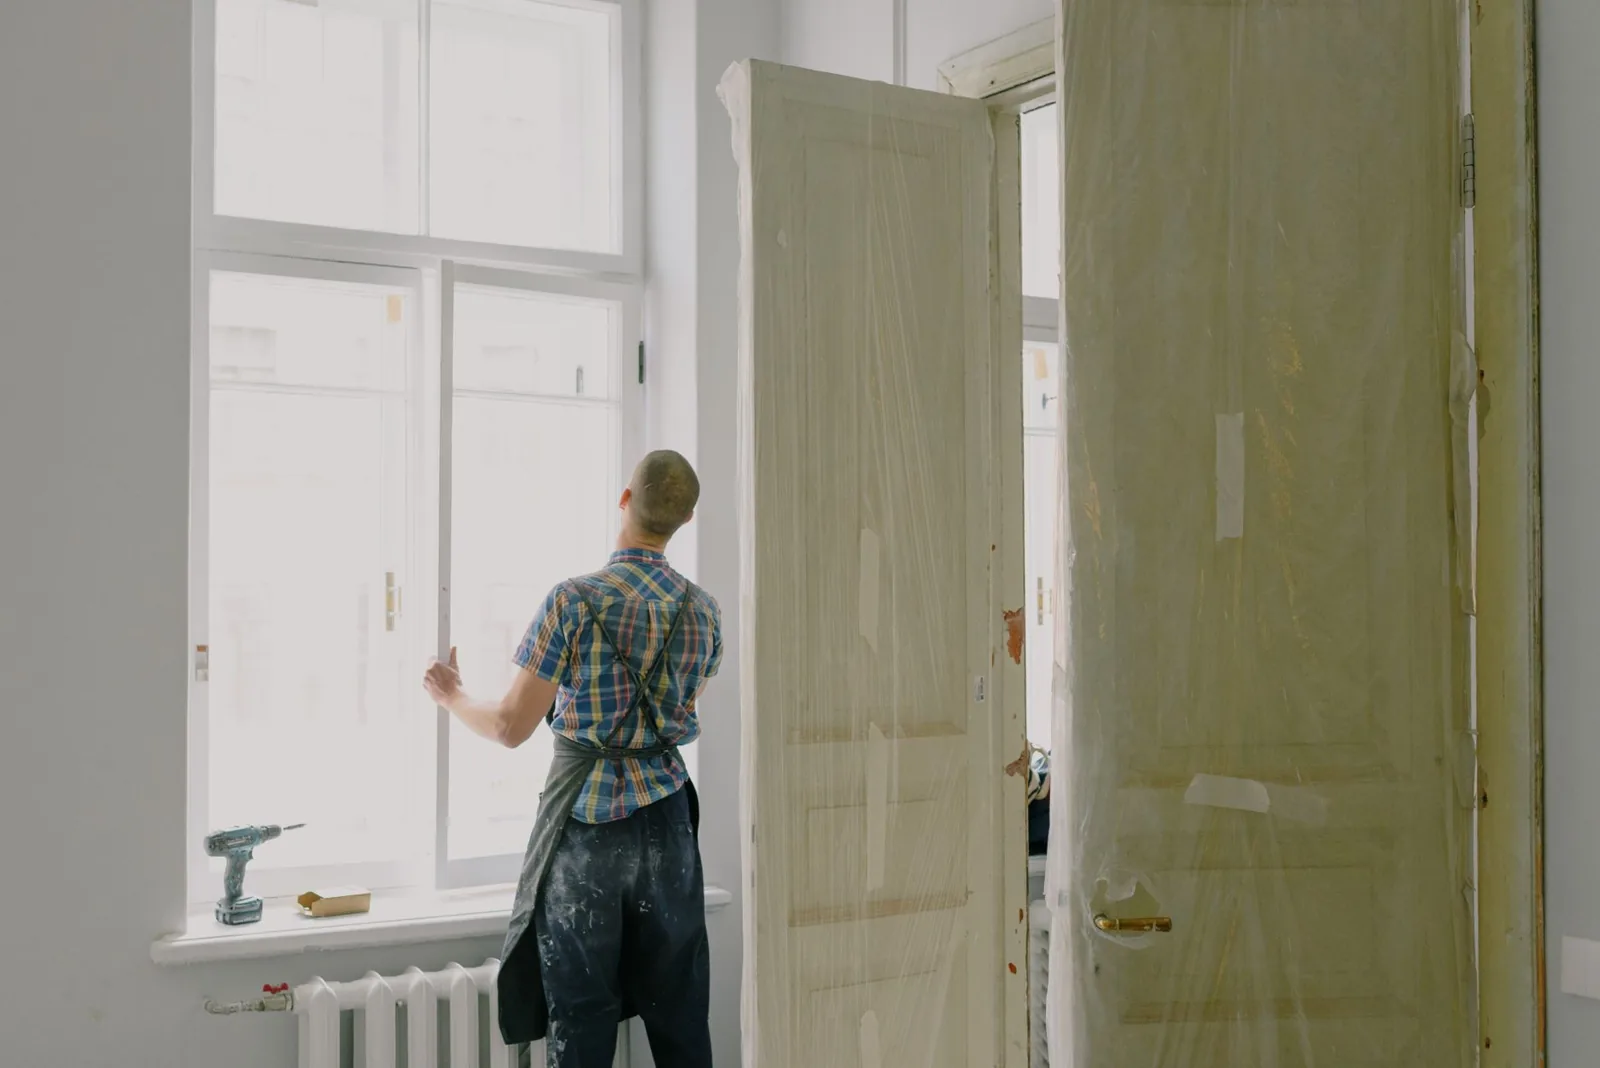
Photo by Ksenia Chernaya via Pexels
Step 4: Set, Shim, and Level the Window
Now the precision work begins. Place the window in the opening and push shims under the bottom corners to hold it at the correct height. Check for level across the sill and plumb on both sides, adjusting shims in pairs — when you push one side, add a shim on the opposite side to balance it.
Fasten the window loosely at first: many units have pre-drilled holes in the jambs, or you can drive an exterior screw through a shim so the screw passes through wood, not thin air. Snug the screws only after the window is level, plumb, and square, and operate the sashes to confirm they glide without binding at the corners. A window that opens hard now will only get worse with seasonal movement.
Once everything reads true, open and close the unit two or three times, then measure the diagonals with a tape to confirm the frame is square. Only when you are satisfied should you tighten the fasteners fully.
Step 5: Insulate and Seal the Gaps
With the window anchored, fill the gap between the frame and the rough opening. Use a low-expansion foam made specifically for windows and doors; standard spray foam expands hard enough to bow the frame and pin the sashes shut. Apply it in short passes and let it cure — then trim away the excess with the utility knife once it dries.
If the gaps are larger or you are working in a damp climate, tuck fiberglass or backer rod into the wider spaces before foaming. Run a continuous bead of exterior-grade caulk around the outside of the window where it meets the casing or siding, and leave the bottom weep holes open so any trapped moisture can drain out.
Step 6: Replace the Trim and Finish the Look
Reinstall the interior stops, or install new casing if the old trim was too damaged to reuse. Predrill the nail holes to avoid splitting thin casing, and set the nails slightly below the surface with a nail set. Fill the holes with wood filler, sand smooth, and touch up with paint after the caulk cures.
On the outside, reattach any exterior casing or brickmold, and caulk the top and sides while keeping the bottom edge open for drainage. Finally, check the locks and latches engage fully, and run a hand around the perimeter on a windy day to feel for drafts you may have missed.
What a Professional Install Costs
If the scope grows beyond a simple pocket replacement — a rotted rough opening, a window being moved or enlarged, or a second-story unit — a professional install is usually the better call. Labor typically runs $55 to $150 per window, depending on access and framing condition, which pushes the all-in price of a mid-range vinyl replacement to roughly $600 to $1,400 per opening. For a more detailed price breakdown by material and region, see our guide to window replacement cost.
The material choice shifts both the number and the difficulty. Vinyl is the easiest for a first-timer to handle and seal, wood offers the most traditional look but needs more maintenance, and fiberglass costs more up front while handling temperature swings well. If you are still deciding, compare your options in our guide to the best windows for energy efficiency or read double-hung vs casement windows to settle on a style before you order.
According to the U.S. Department of Energy, windows can account for 25 to 30 percent of a home’s heating and cooling energy use, which is why a properly sealed unit pays off long after the ladder is put away (energy.gov). This Old House likewise recommends dry-fitting before fastening, a step that catches most measurement mistakes before they become expensive (thisoldhouse.com).
Frequently Asked Questions
How long does it take to install a replacement window?
For a standard first-floor pocket replacement with an intact opening, plan on two to four hours for the first window and closer to one to two hours each once you have the process down. Add time for a rotted frame, second-story access, or redoing interior and exterior trim.
Can a beginner install a replacement window?
Yes, with patience and the right measurements. The mechanics are straightforward — measure, remove, dry-fit, level, fasten, and seal. The main risks are ordering the wrong size and failing to keep the frame square, both of which slow first-timers down but are avoidable.
What is the difference between a replacement and a new-construction window?
A replacement (pocket) window fits inside the existing frame and keeps your current trim and siding largely intact. A new-construction window has an attached nailing fin and is set into the rough framing, which usually means cutting back siding and flashing it again.
Do I need a permit to install a replacement window?
Many municipalities do not require a permit for like-for-like replacements that do not change the opening size, but rules vary widely. Check with your local building department before starting, especially if you are adding egress windows or altering framing.
What is the most common DIY mistake?
Skipping the dry-fit and forcing a square window into a slightly out-of-square opening. The frame ends up racked, the sashes bind, and air leaks around the edges. Taking the time to shim and level properly fixes most of it before the foam goes in.
The Bottom Line
Knowing how to install a replacement window is one of the highest-value skills a homeowner can pick up. Done right, a single afternoon removes a source of drafts, cuts noise, and trims your heating and cooling bills for the life of the window — all while saving you a meaningful chunk of labor cost per opening.
The job rewards patience over strength: measure small, dry-fit before you fasten, level before you shim, and seal before you trim. If any step reveals hidden rot, a badly racked opening, or a window that is simply too high to reach safely, that is the signal to hand it to a professional rather than push through. Either way, you will now recognize a clean, square, properly sealed install when you see one — and that is the difference between a window that lasts a decade and one that lasts thirty years.
Ready to price out your project or compare materials? Start with our front door replacement cost overview to see how window and entry upgrades fit into a whole-home exterior plan.