How to Weatherproof Windows for Winter
A drafty window doesn’t just make a room feel cold. It quietly drains money all winter, forcing your furnace to run longer and your energy bill to climb. The good news: you don’t need to be a contractor or spend hundreds of dollars to fix most of it. Learning how to weatherproof windows for winter is a weekend project that pays for itself before spring.
The Department of Energy estimates that windows account for 25% to 30% of residential heating and cooling energy use, and air leaks around them can add 10% to 20% to a home’s heating bill. A single poorly sealed window won’t break you, but a house full of them can add up to real money every single month.
Here’s the part most guides skip: weatherproofing is a stack of small fixes, not one big repair. You seal the gaps, block the drafts, and add a thermal layer — and the total cost runs between $30 and $200 depending on how thorough you get. In this guide, I’ll walk through the exact steps, the materials that actually work, and how to tell when a window is too far gone to be worth patching.
Why Drafty Windows Cost You Real Money
Before you buy anything, it helps to understand what you’re fixing. A window leaks in two ways: air leaks through gaps around the sash and frame, and heat transfers directly through the glass and frame material. Weatherproofing attacks both.
- Air leakage (drafts): Cold air comes in through cracks around the moving sash, the frame, and gaps where the window meets the wall. This is the fastest, cheapest fix.
- Conduction: Heat passes straight through single-pane glass and through aluminum frames, which conduct cold almost as well as they conduct nothing. This is why film and insulating treatments matter.
- Convection: Warm air hits the cold glass, drops, and creates a circulation pattern that makes the whole room feel drafty even when the window is sealed tight.
The fix that matches the leak is what makes the difference. Air leaks want caulk and weatherstripping. Conduction wants window film, storm panels, or heavier coverings. Doing one without the other leaves you wondering why the room is still cold.
How to Weatherproof Windows for Winter: Find the Leaks First
You can’t seal what you can’t see. Before touching a single product, spend fifteen minutes locating every leak. On a windy day, walk the inside perimeter of each window and do three simple tests.
The back-of-hand test. Wet the back of your hand and hold it near the edges of the sash and frame. Any place that feels cool or breezy is leaking air. Your skin is more sensitive to moving air than a thermometer.
The incense or candle test. Light a stick of incense and move it slowly around the window perimeter. Wherever the smoke wavers, bends, or gets sucked toward the gap, you’ve found a leak. This works even on calm days because it catches the micro-drafts from air pressure differences.
The paper test (for the sash). Close the window on a sheet of paper and try to pull it out. If it slides out easily, the weatherstripping between the sash and frame has failed and needs replacing.
Mark every leak with a piece of painter’s tape, then work through them in order of size. The biggest gaps get the most attention.

Photo by Erik Mclean via Pexels
Weatherstrip the Moving Parts
Weatherstripping is the workhorse of window weatherproofing. It seals the gap between the movable sash and the fixed frame — the most common source of drafts. You’ll find four main types, and each fits a different situation.
- Adhesive-backed foam tape: The cheapest and easiest option, usually $3 to $8 per roll. It’s best for gaps on the sides and top of a double-hung sash. It compresses well but wears out in one to two seasons.
- V-bulb (vinyl) weatherstripping: A folded vinyl strip that springs back after compression. It’s a good upgrade over foam for sliding windows and lasts several years.
- Felt strips: The old-school choice, now mostly used on doors. For windows, skip it — it compresses flat quickly and does little against wind.
- Silicone or EPDM rubber gaskets: The most durable option, often sold as replaceable sash inserts. They cost more but can outlast the window itself.
To install, clean the contact surface with rubbing alcohol so the adhesive bonds, cut the strip to length with a little overlap, and press it into place with the window closed so it compresses to the right thickness. Focus on the meeting rail (where the top and bottom sash come together) — it’s the leakiest joint on a double-hung window.
For windows that are hard to open or close after you add weatherstripping, you’ve used a strip that’s too thick. Swap it for a thinner profile rather than forcing the sash.
Seal the Frame with Caulk
Weatherstripping handles the moving parts. Caulk handles the stationary gaps: where the window frame meets the wall, where trim meets the frame, and any cracks in the exterior casing. These gaps never move, so a flexible, paintable sealant is the right tool.
For the exterior, use a high-quality silicone or a polyurethane sealant rated for outdoor use, around $6 to $10 per tube. For the interior, a paintable acrylic latex caulk ($3 to $6) blends in better and can be painted to match your trim.
Cut the tube tip at a 45-degree angle just above the gap width, and run a steady bead along the joint. Smooth it with a wet finger or a caulk tool within a few minutes, and let it cure per the label before painting or exposing it to rain. Don’t caulk the weep holes at the bottom of the frame — those small drainage slots are supposed to stay open so condensation can escape.
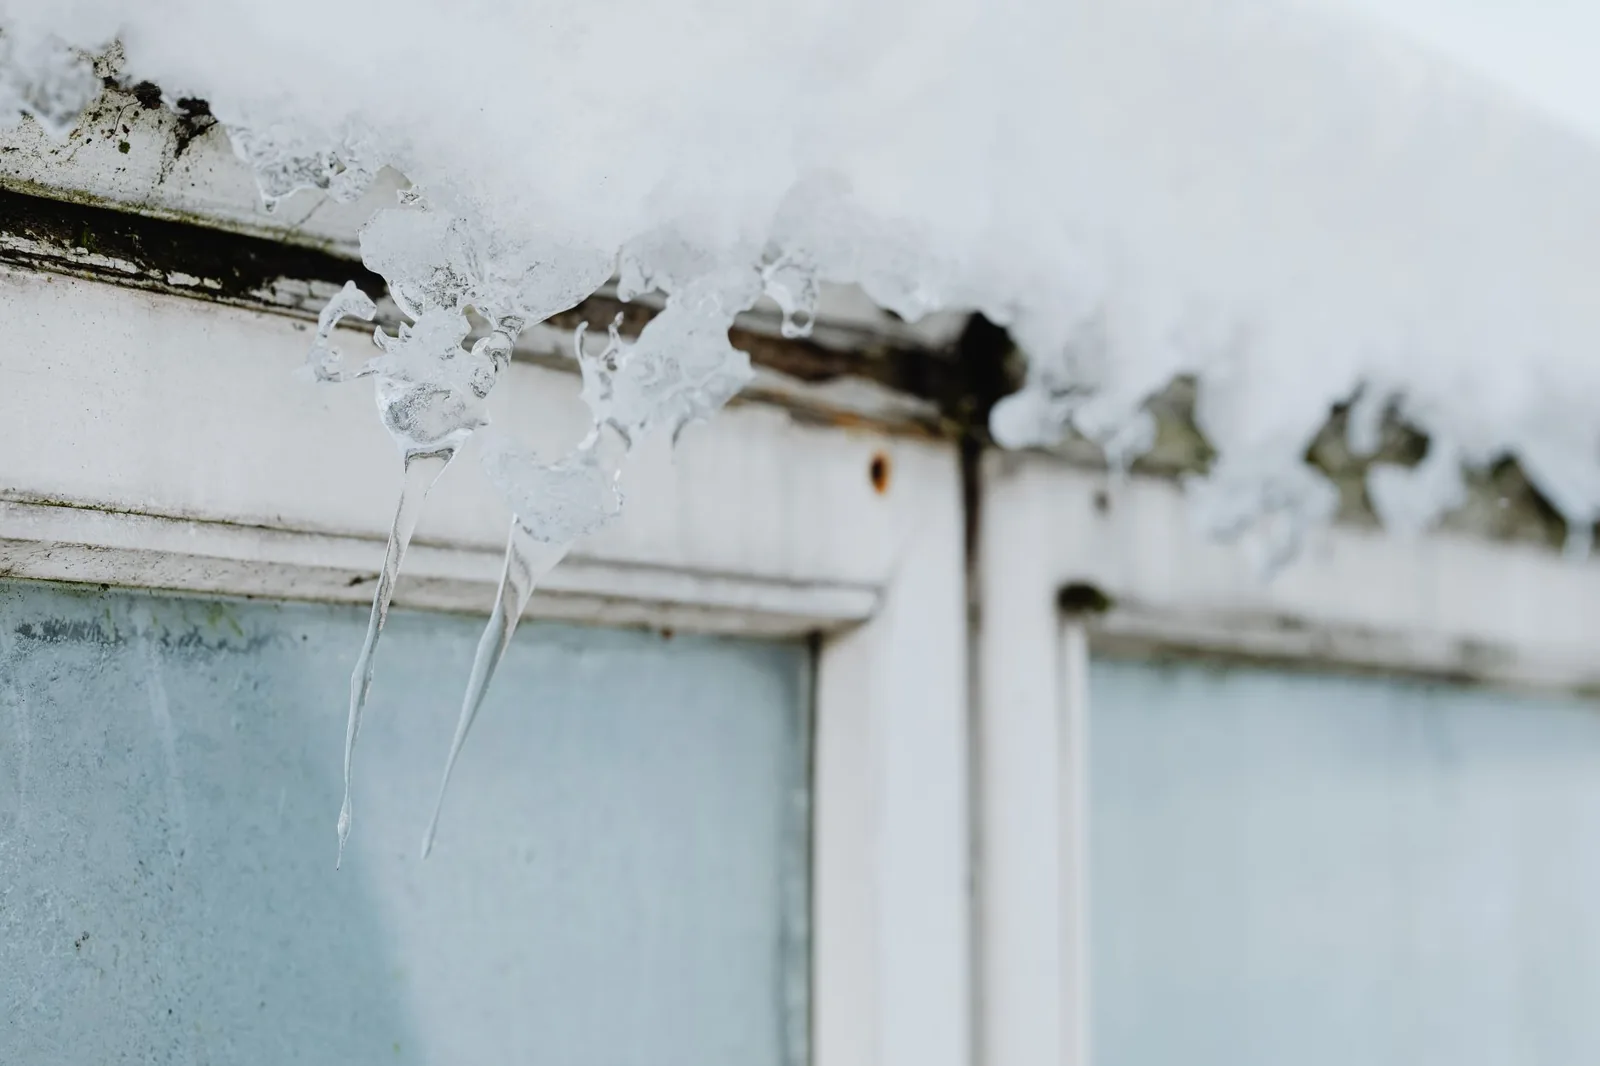
Photo by https://kaboompics.com/ via Pexels
Apply Window Insulation Film
If your windows are single-pane, or the room still feels cold after sealing the gaps, window film is the highest-value step you can take. The clear plastic film creates a trapped air space that insulates the glass, cutting heat loss through the pane itself — the one leak weatherstripping can’t touch.
A kit with film and double-sided tape runs $10 to $25 and covers three to five windows. Installation takes about 30 minutes per window:
- Clean the frame so the tape sticks.
- Apply the double-sided tape around the perimeter of the frame, not the glass.
- Press the film onto the tape, leaving a little slack.
- Shrink it with a hair dryer on high heat until it’s taut and nearly invisible.
The film works because the trapped air layer resists heat transfer far better than glass alone. Expect a noticeable difference on cold mornings. Remove it in spring before it loosens and gets dusty.
Block Cold with Draft Stoppers and Heavy Curtains
Not every weatherproofing tool is a product you install. Some of the most effective moves are things you already own, used the right way.
- Insulated or thermal curtains with a foam or thermal backing can reduce heat loss through a window by up to 25% when drawn at night. Open them during sunny days to let solar heat in, close them at dusk.
- Draft stoppers (also called draft snakes) placed along the windowsill block the cold air that pools at the bottom of the frame. A $10 fabric tube filled with sand or rice does the job.
- Cellular (honeycomb) shades trap air in their pockets and are the most insulating window treatment you can buy without a full replacement — roughly $40 to $100 per window depending on size.
These treatments won’t stop air leaks, so they’re not a substitute for weatherstripping and caulk. They’re the finishing layer that makes a sealed window feel genuinely warm.
When It’s Time to Replace Instead of Patch
Weatherproofing can rescue a lot of windows, but it can’t fix everything. Here’s how to know when you’re throwing good money after bad.
- Rotted or warped frames: If the frame is soft to the touch, cracking, or won’t square up, no amount of caulk will hold. The window needs replacing.
- Failed seals (foggy glass): If condensation forms between the panes, the insulating gas has escaped. The glass unit needs replacing — film won’t help.
- Single-pane windows in a cold climate: Weatherproofing helps, but a modern double- or triple-pane window with a low-E coating will cut heat loss dramatically. If you’re already planning a window replacement, compare the upgrade against years of film and weatherstripping.
- Age and energy ratings: Windows older than 20 years typically lack today’s insulation standards. If you’re choosing between new windows, check our breakdown of the best windows for energy efficiency to see what modern glass and frame materials actually deliver.
If the window is structurally sound but just leaky, weatherproofing is absolutely worth it. If you’re unsure whether the sash style itself is holding you back, our double-hung vs. casement comparison explains which design seals tighter in windy climates.
Frequently Asked Questions
How much does it cost to weatherproof windows for winter?
Most homeowners spend between $30 and $200 to weatherproof every window in the house. Caulk runs about $6 per tube, weatherstripping $3 to $8 per roll, and a window film kit $10 to $25. The whole project costs far less than a single month of a leaky home’s inflated heating bill.
How do I know if my windows are leaking air?
Run the back-of-your-hand test or hold a lit incense stick near the window’s edges on a breezy day. Moving air or bending smoke means a leak. On double-hung windows, close the sash on a sheet of paper — if it pulls out easily, the weatherstripping has failed.
Is window film worth it in the winter?
Yes, especially on single-pane or older windows. The trapped air layer the film creates insulates the glass and noticeably cuts the cold radiating from the pane. At $10 to $25 per kit, it’s one of the cheapest thermal upgrades available, per Energy Saver.
Can I weatherproof my windows myself, or do I need a pro?
Almost all of it is a DIY job. Caulk, weatherstripping, film, and draft stoppers need only basic tools and an afternoon. You’d only call a pro if the frame is rotted or the glass seal has failed — and that’s a replacement, not a weatherproofing task.
How often should I redo window weatherstripping?
Foam tape and felt generally last one to two seasons before they compress and lose their seal. V-bulb vinyl and rubber gaskets last three to five years. Check the weatherstripping each fall, and replace any that has flattened, cracked, or peeled away from the frame.
The Bottom Line
Weatherproofing your windows for winter is one of the most cost-effective improvements a homeowner can make. You’ll spend an afternoon and somewhere between $30 and $200, and you’ll immediately feel the difference — warmer rooms, a quieter furnace, and a heating bill that stops climbing every time the temperature drops.
Work in this order and you’ll catch the vast majority of heat loss: find the leaks, weatherstrip the moving parts, caulk the stationary gaps, add film to single-pane glass, and finish with thermal curtains or shades. For more detail on the techniques behind a solid seal, This Old House walks through each step with visuals.
If a window is rotted, fogged, or more than 20 years old, weatherproofing is a temporary bandage — at that point, the smarter money goes toward a replacement. But for most homes, a few hours and a few dollars of materials are all it takes to keep winter where it belongs: outside.