How to Build a Pergola: A Step-by-Step DIY Guide
Learning how to build a pergola is one of the most satisfying outdoor projects a homeowner can tackle. A well-built pergola adds shade, defines an outdoor room, and typically raises a home’s perceived value — all for a fraction of what a full roof or patio enclosure would cost. If you can pour concrete, measure square, and drive a lag bolt, you can build a pergola in a long weekend.
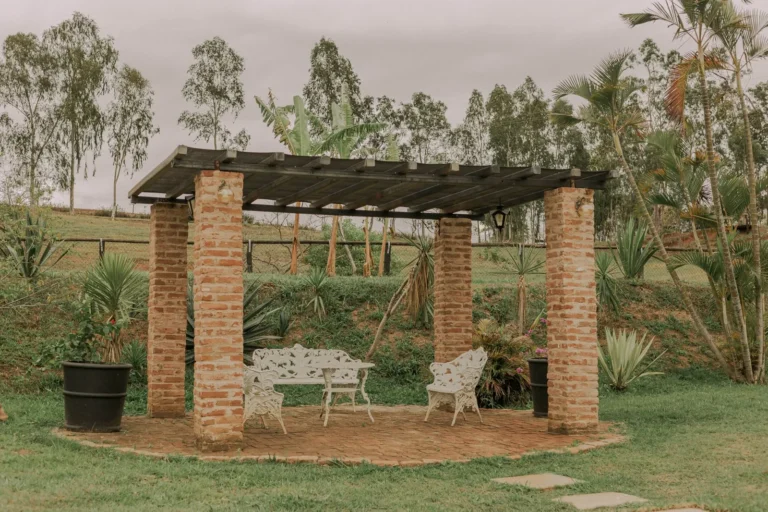
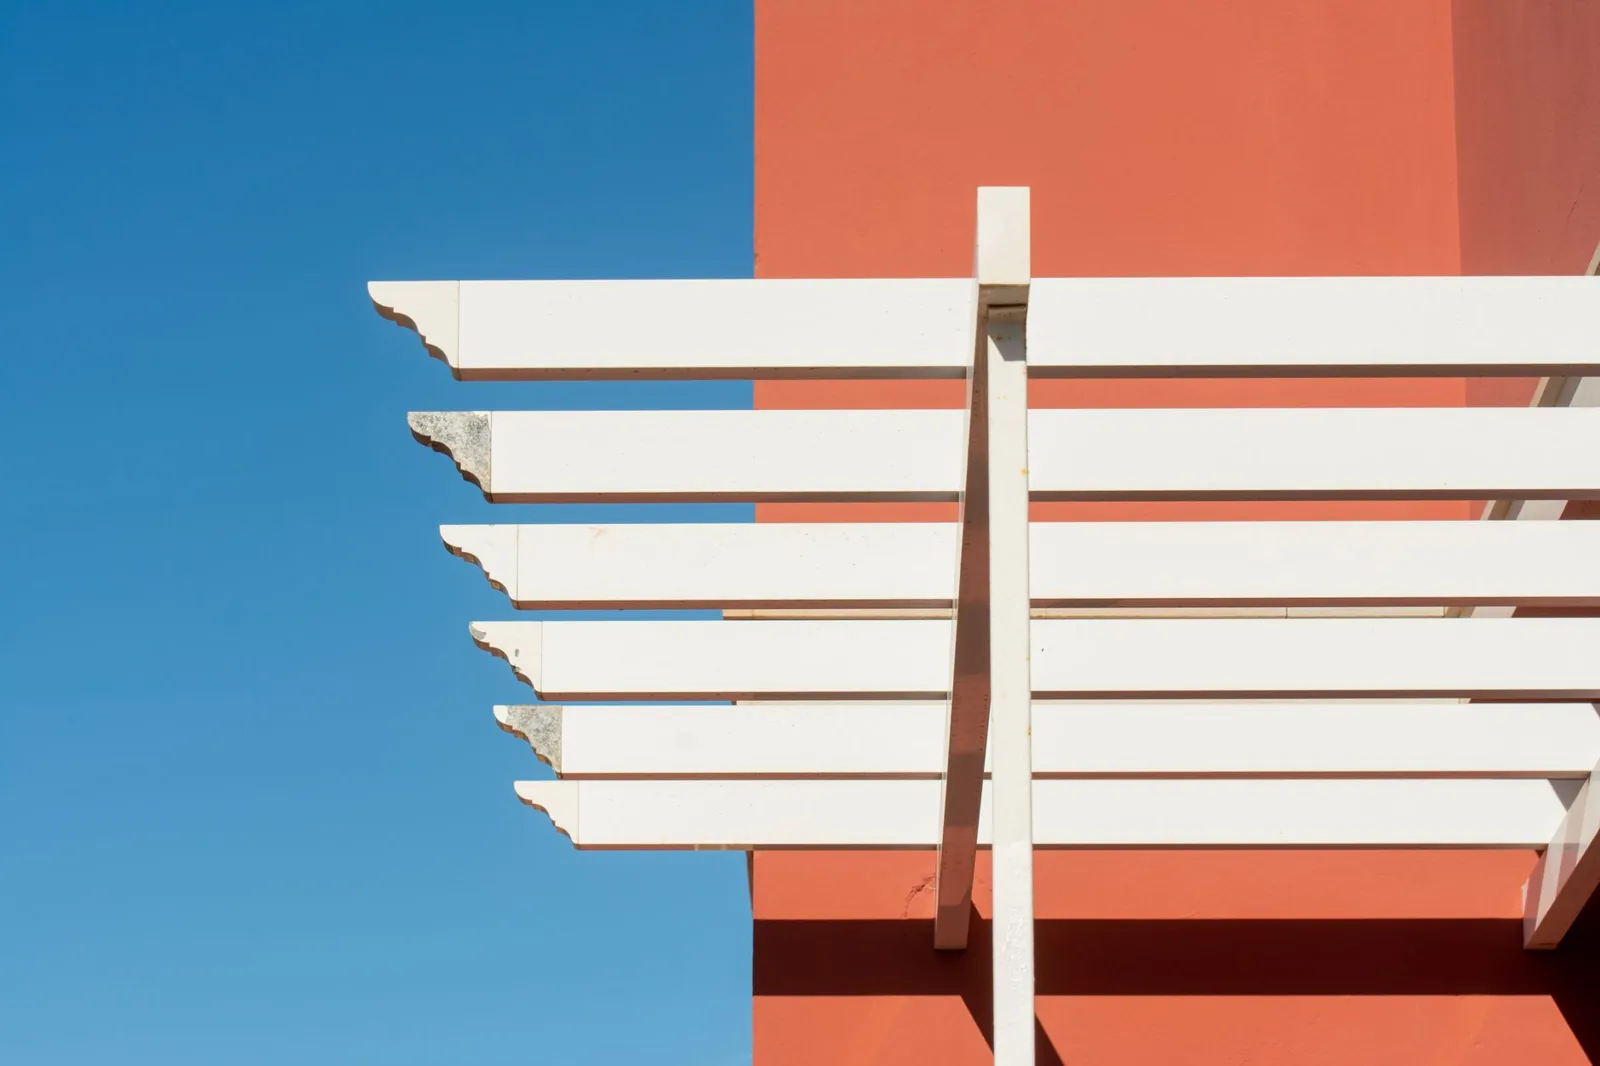
A pergola is an open-roof structure made of vertical posts, horizontal beams, and evenly spaced cross-members (rafters) that filter sun rather than block it. Unlike a gazebo or solid roof, a pergola lets dappled light through and gives climbing plants something to grow on. It can stand free in the yard or attach directly to your house with a ledger board.
This guide covers the entire process — choosing a design, gathering materials, laying out footings, setting posts, and installing the roof frame. Budget two to three days of work and roughly $800 to $3,500 in materials for a typical 10- by 12-foot cedar pergola, depending on size, wood species, and finish.
Choosing a Pergola Design and Materials
Before you cut a single board, decide on two things: the pergola’s footprint and the material it will be built from. Both drive the rest of the project.
The most common size for a DIY build is 10 by 10 feet or 10 by 12 feet, which comfortably covers a dining set for four to six people. Larger spans — anything with a beam over 14 feet — generally require 6×6 posts and an engineered header, so keep a first build at or under 12 feet per side.
Material choice matters more than almost anything else because it dictates lifespan, maintenance, and look:
- Pressure-treated pine is the budget option. It costs $15 to $45 per 16-foot board and resists rot and insects, but it warps and checks as it dries and must be sealed every couple of years.
- Western red cedar is the DIY favorite. It smells good, resists decay, holds stain well, and is lightweight enough to lift over your head. Expect to pay $2 to $4 per linear foot.
- Vinyl (PVC) pergolas arrive as kits, never rot or need paint, and wipe clean — but they cost more and can look plastic up close.
- Aluminum kits are the strongest, lowest-maintenance option and hold a powder-coat finish for decades, at the highest price point.
Attached vs. Freestanding
A freestanding pergola is easier for a first-time builder because every post stands on its own footing and you control the layout entirely. An attached pergola shares a ledger board bolted into the house wall, which saves two posts and some floor space but requires proper flashing and lag screws into solid framing. If you’re unsure, start freestanding.
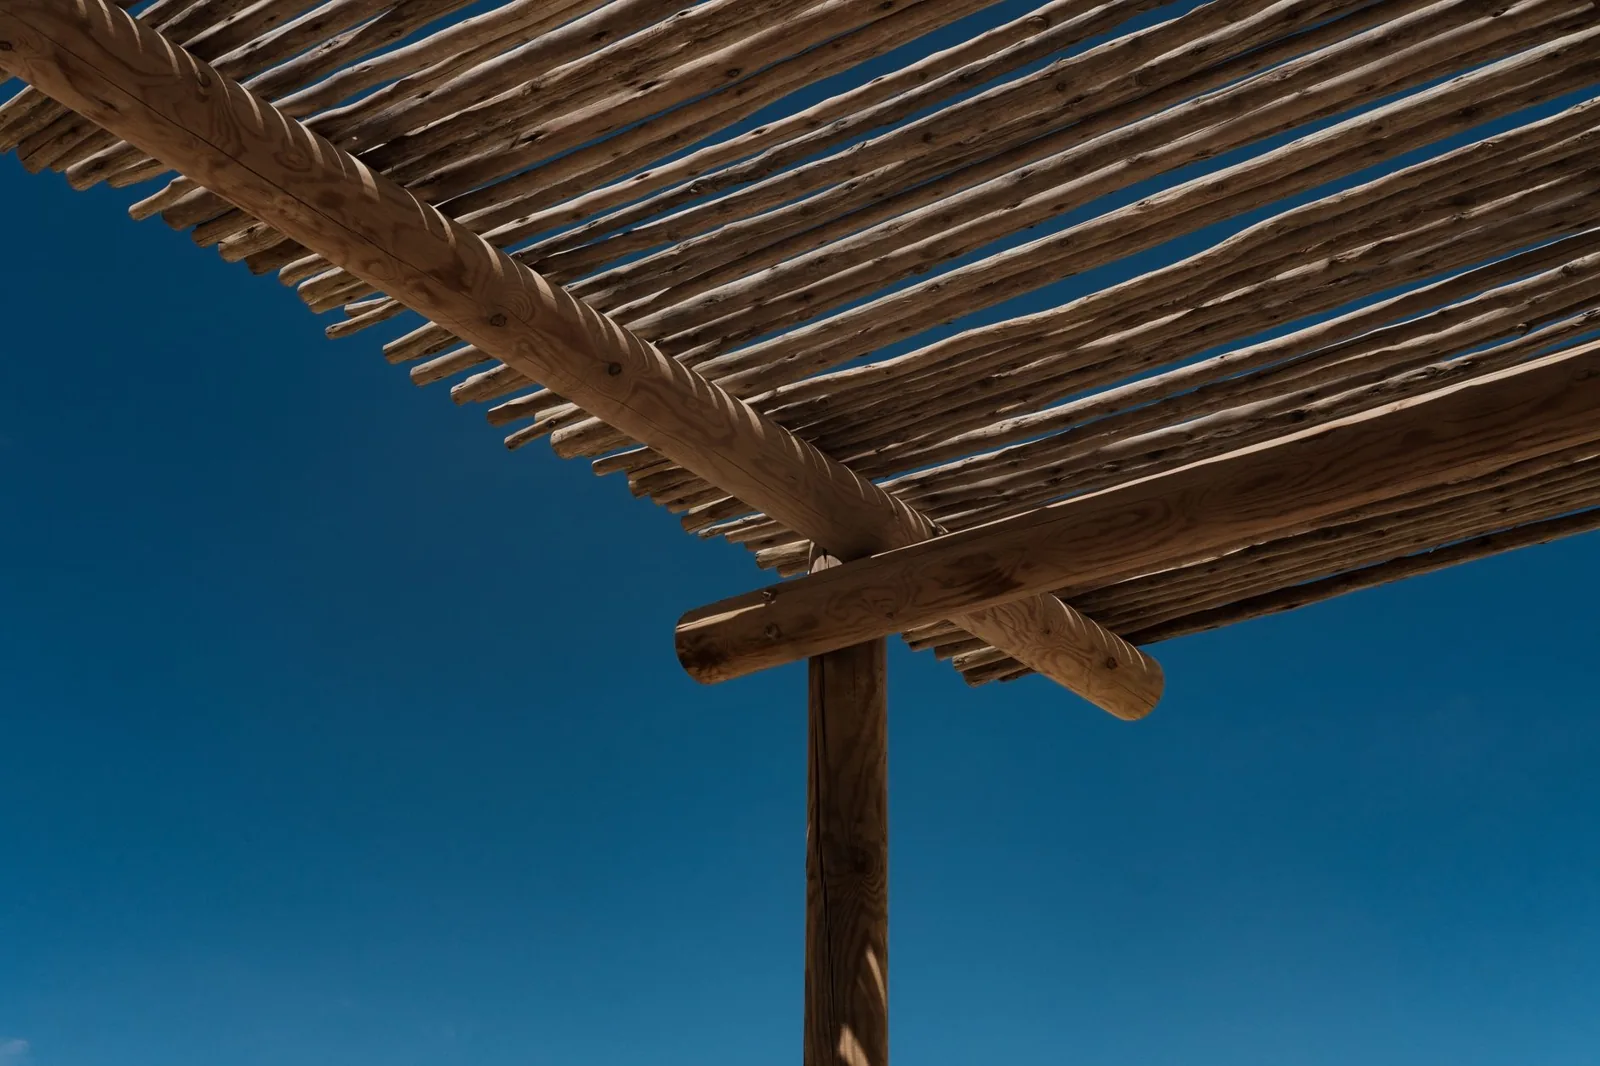
Photo by viktoriia kalganov via Pexels
Tools and Materials Checklist
Assemble everything before you dig. Here is the complete list for a 10- by 12-foot freestanding cedar pergola with four posts.
Lumber
- 4×4 or 6×6 posts (4), cut to finished height plus embedment depth
- 2×8 or 2×10 beams (2), often doubled for a thicker look
- 2×6 rafters, spaced 16 to 24 inches on center
- 2×2 or 1×4 purlins (optional, for a finished lattice top)
Concrete and hardware
- Quikrete fast-setting concrete mix (4 to 6 bags)
- Simpson Strong-Tie post bases and post-to-beam connectors
- ½-inch galvanized lag bolts or heavy structural screws
- 2½-inch exterior-grade or stainless deck screws
- Rebar (for piers in windy regions)
Tools
- Post hole digger or auger
- 4-foot level, string line, and framing square
- Circular saw, drill/driver, and a chuck of assorted bits
- Tape measure, hammer, and a stepladder
The single most common DIY mistake is under-sizing the posts. If in doubt, step up to 6×6 — the extra cost is small, and a 6×6 post resists the racking and twist that eventually loosen a wobbly pergola.
Laying Out and Digging the Footings
Your pergola is only as solid as the holes it sits in. Start by squaring up the footprint.
- Drive a stake at each corner and tie a mason’s line between them.
- Check the corners with a 3-4-5 triangle: measure 3 feet along one line, 4 feet along the adjacent line, and the diagonal between those marks should read exactly 5 feet.
- Adjust until both diagonals of the rectangle are equal — this is the fastest way to guarantee a square layout.
Next, dig a footing at each post location. The hole must extend below your local frost line — check with your building department, but budget 24 to 48 inches deep in most of the US and Canada. A freestanding pergola relies entirely on these footings for stability, so shallow holes are false economy in a windy yard.
For a clean, strong pier, set a cardboard Sonotube form in each hole so it stands 2 to 3 inches above grade, then fill it with concrete. This keeps the wood post out of standing water, which is the number-one cause of rot at ground level.
How to Build a Pergola: The Step-by-Step Build
With footings cured, the structure itself goes up in a logical sequence. Work one bay at a time and keep a level within reach.
Step 1: Set the posts. Anchor each post with a Simpson Strong-Tie post base set into the wet concrete (for a bolt-down style) or bracket-mount the base to the cured pier. Brace the first post plumb in both directions with temporary 2×4 struts, then work around the rectangle, checking plumb with the level on two faces every time.
Step 2: Cut the tops level. Snap a level line around all four posts at the finished height — typically 8 feet — and trim with a circular saw. A water level or laser level is far more accurate than a bubble level over long distances.
Step 3: Attach the beams. Lift the beams to sit on top of the posts on opposite sides, overhanging evenly. Fasten through the beam into the post, or use metal post caps. With a helper, screw the beams in place with ½-inch lag bolts and washers.
Step 4: Lay out and install the rafters. Mark rafter spacing on top of the beams every 16 to 24 inches. Notch the rafter ends slightly so they sit flush on the beam, then screw each rafter down with two fasteners per end. Keep the overhang equal on both sides.
Step 5: Add purlins (optional). Smaller strips running perpendicular to the rafters create the classic lattice shadow pattern and give vines more to climb. Screw them at 12- to 18-inch spacing.
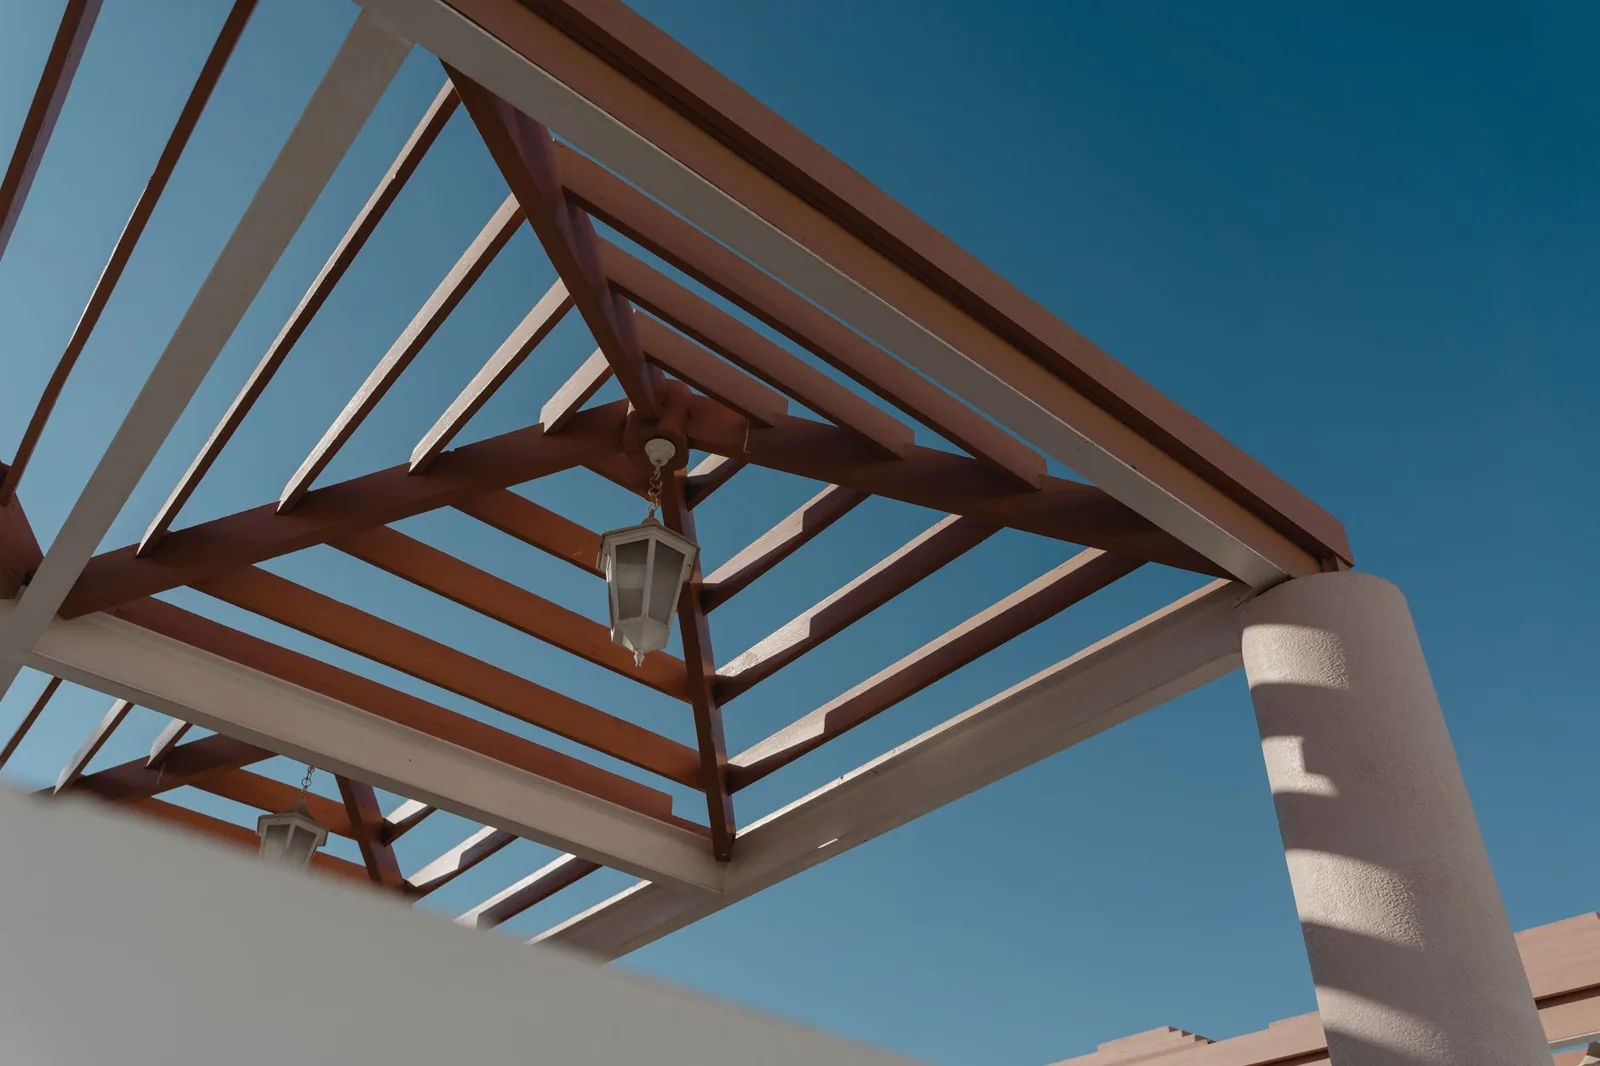
Photo by Tima Miroshnichenko via Pexels
Throughout the build, recheck square and plumb after each step. A quarter-inch error at the footings becomes a visibly crooked roof by the time you reach the rafters.
Pergola Costs at a Glance
What you spend depends mostly on material and whether you buy a kit. Here is a realistic comparison for a 10- by 10-foot pergola, DIY-installed:
| Feature | Pressure-Treated Pine | Western Red Cedar | Vinyl Kit | Aluminum Kit |
|---|---|---|---|---|
| Typical DIY material cost | $500–$1,800 | $1,500–$4,000 | $2,500–$6,000 | $4,000–$9,000 |
| Lifespan | 15–20 years | 20–30 years | 25+ years | 30+ years |
| Maintenance | Stain/seal every 2–3 years | Seal every 2–3 years | Occasional washing | Nearly none |
| Best for | Tight budget, first build | Natural look, DIY build | Zero-maintenance look | Windy, exposed yards |
Hiring a contractor to build the same pergola adds $2,000 to $6,000 in labor, which is why this is such a popular DIY project. If a full custom build feels like too much, prefab kits from brands like Toja Grid slot together in an afternoon — though you’ll pay a premium for the convenience.
Permits, Codes, and Anchoring
Before you dig, make one phone call to your local building department. Requirements vary widely by municipality, and a structure that’s technically non-compliant can be a problem at resale.
- Permit status: Many areas exempt pergolas under a certain size or height, but some require a permit for any structure with footings. Ask rather than assume.
- Height limits: Most residential codes cap accessory structures at 12 feet, and many HOAs cap them at 8 to 10 feet.
- Setbacks: Corner posts must usually sit a minimum of 3 to 5 feet from property lines.
- Wind anchoring: In coastal or storm-prone regions, engineer the footings and use through-bolts at every post-to-beam connection.
If you live in an HOA, submit a quick drawing and material list for architectural review before spending a dollar. For more detail on the permitting process and code specifics, This Old House’s pergola guide and the Family Handyman pergola build walk through the same steps with photos.
Finishing and Maintaining Your Pergola
Wait three to four weeks after the structure is up before staining or sealing, so pressure-treated lumber finishes drying (cedar can be sealed right away). An exterior semi-transparent stain in a warm tone — cedar, teak, or walnut — looks sharp against green landscaping and protects the wood from UV.
Maintenance is light once it’s finished:
- Re-seal or re-stain every two to three years.
- Check lag bolts and post bases each spring and tighten anything loose.
- Trim climbing vines so they don’t wedge under rafter connections.
- Look for standing water at the post base after heavy rain and regrade if needed.
A pergola also plays well with the rest of your yard. Pair it with pergola ideas for the backyard to shade a seating corner, or compare it against a solid roof in our guide to covered patio ideas. If you’re still deciding whether an open pergola beats a fully roofed structure, our gazebo vs. pergola comparison lays out the trade-offs.
Frequently Asked Questions
How long does it take to build a pergola?
A competent DIYer working with a helper can finish a 10- by 12-foot freestanding pergola in two to three days, not counting concrete curing time. Kits go up much faster — often a single afternoon.
Do I need a permit to build a pergola?
It depends on your municipality. Many areas exempt small, unenclosed structures, but any pergola with dug footings or an attached ledger board is more likely to require one. Call your local building department before digging.
Which is better, an attached or freestanding pergola?
Freestanding is simpler for first-timers because it needs no ledger board or flashing and can sit anywhere. Attached saves space and two footings but requires fastening into the house’s structural framing.
How much does it cost to build a pergola?
A DIY pressure-treated pergola can run as little as $500, while a cedar build runs $1,500 to $4,000 and vinyl or aluminum kits range from $2,500 to $9,000. Contractor labor typically adds another $2,000 to $6,000.
Should I use 4×4 or 6×6 posts?
Use 6×6 posts for any pergola over about 10 feet on a side, or anywhere with strong wind. They resist racking and twist far better than 4x4s, and the extra material cost is minor.
The Bottom Line
Building a pergola is one of the best cost-to-reward projects in home improvement. For a few hundred to a few thousand dollars and a weekend of work, you get a shaded outdoor room that you’ll use for years — and a structure that adds real curb appeal when the time comes to sell.
The keys to a build that stays square and solid are boringly simple: size the posts up, dig footings below the frost line, keep everything plumb and level as you go, and bolt connections with structural hardware rather than nails. Do those five things right and how to build a pergola stops being a mystery — it becomes a weekend well spent.
Ready to plan the rest of your backyard? Browse pergola ideas for your yard next, or map out the full project with our covered patio ideas guide.